Now, when I first drove VIN 10719 back from the port I had a nightmare with the gears. First seemed impossible to find, and second, well lets just say it was very interesting when approaching a junction. Nine times out of ten I end up grinding the gears as the transmission tried in vain to slip into reverse!
I thought it was just me. After all before driving the DeLorean I've been spoilt with modern cars with their smooth, easy to use gear boxes. I just needed to get used to it. I was being rubbish. Practise would soon have me changing through the gears with ease.....
Well, seems like its not just me. Chris N of PJ Grady had the car the other week and he couldn't even get it into first to drive it into his lock-up! He ended up putting it into third to get it going. Now Chris is far from a novice as far as driving the Delorean, so it was obviously something wrong with the box.
Turns out the previous owner had adjusted the gear linkage until it was miles out. The gears were biased all the way over towards fifth gear. God knows why. I can only imagine that being American, and the US having mainly automatics he just didn't know how to deal with a manual gear box.
Anyway, after MUCH tweaking by Chris N the gears are now 100% better. I can't believe it, I can find first and second with ease, and for the first time reverse can be found by first pulling up the gear stick, rather than by trying to find second at speed!
Well, following the repair of the frame the car was booked in for a few bits down with Chris N at PJ Grady. Remember that damaged and bent spoiler, cracked radiator cover and cracked battery cover? Well my marine insurers agreed to pay for these to be replaced by PJ Grady, so while the car was down there I decided to make the most of Chris and his skills and get a few other jobs done. So, here's the list of repairs:
- Repair and replace of spoiler, radiator cover and battery cover.
- Sort out that transmission leak by removing the transmission, replacing the clutch disk, press plate, throw bearing while in there and replace the final rear seal.
- Replace trailing arm bolts. The originals can become bent with the extreme forces placed on them by the rear wheels. You don't want these snapping on you at speed! Much easier to do while the transmission is out.
- See if he can sort out those gears (more of this later).
- Replace steering tie rod ends and steering gators.
- Change all the shocks to SPAXs - much better handling, ride and general all round feel.
- Change the springs from the originals (looking a bit knackered now) for lower springs at the front and new at the back. Result:- much better stance, with a lower front end. Makes the D look far more sporty, and is more in keeping with the original design.
- Remove a couple of dents from the bodywork, plus a scratch on the hood.
- Remove the after-market cruise control and return the car to stock.
- Replace the door struts with new ones. See if this helps the doors have more life and "rise" all the way.
Quite a bit of work, but in true DeLorean legend form Chris managed to do everything in one week. Absolutely amazing! The car feels, well, like a new car. When I turned up last weekend to collect her from his workshop I was blown away by the effect of the lowering front springs. The car looks great! Definitely worth every penny.
Talking of pennies, the cost of parts came in at about £1000. Ouch! Not cheap, and more than I was expecting. But, it will be worth it to know all that work has been done. I was banking on doing this stuff over the next few months, but with the expert hands of Chris N on offer it seemed silly not to take advantage. I don't regret it, but its beans for a while......
Oh, and as for those gears, see the next post...
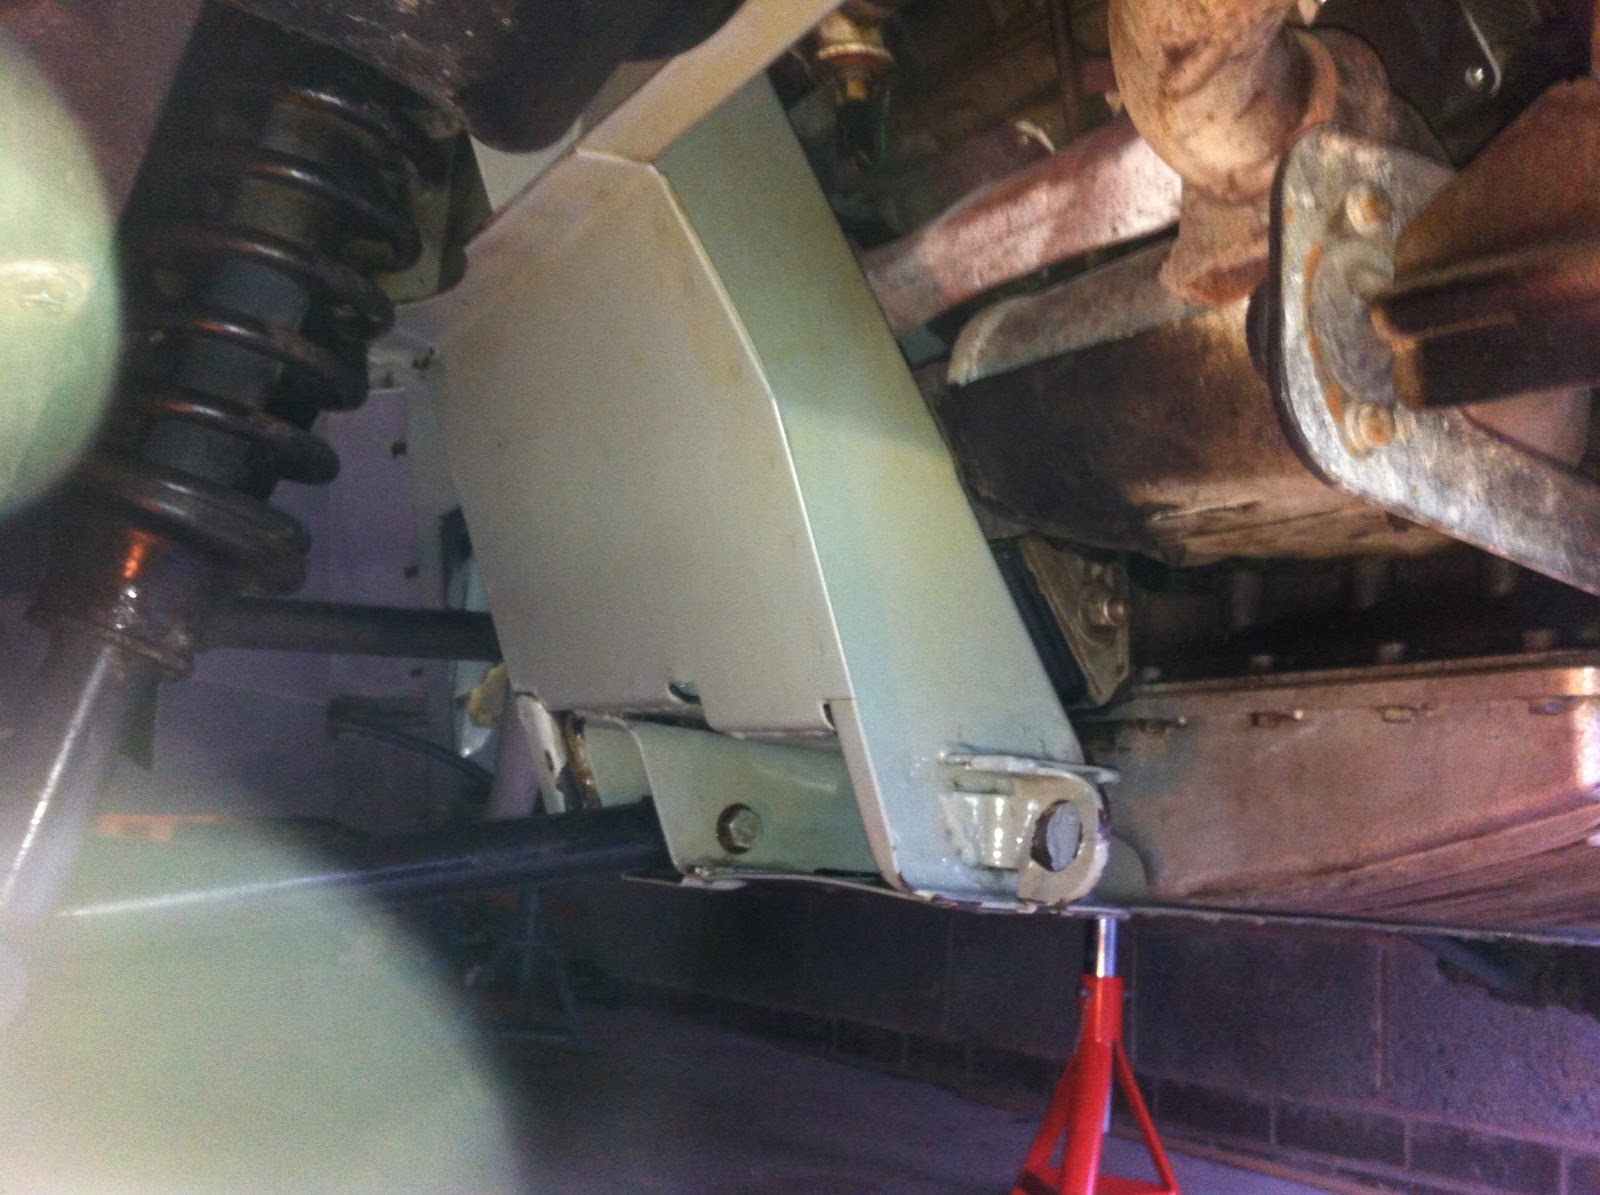
Well, after the black gunk had been removed I could see that some parts of the frame needed some TLC. Not too many, and no areas that could be called anything other than surface rust. The worst areas were where the master cylinder had leaked DOT 4 fluid on the frame near the drivers side front wheel and down onto the edge of the tank cover. Again, mainly just a case of the expoxy coming off and surface rust. The other area was the engine cradle which seemed to be a bit too flaky for my liking.
So, after treating with marine a rust removal product by the same people that do POR-15 the frame was ready to coat. POR-15 has a three step process of cleaning, prepping and coating, and produces a super hard coating which gets harder with exposure to water. Better than the original epoxy!
Its a slow process, and I painted all of the back part of the frame, including the engine cradle. I've also done all the front and down over the tank cover. Where the transmission sits the epoxy is in great condition so I'm leaving this for now. I'll probably go back in there soon and coat, but for now the other areas were the key parts in need of attention. I intend going back in when I have more POR-15 (its expensive stuff) and do the whole lot, then coat with a topcoat of spray paint in the correct colour for the frame. But for now things look a hell of a lot better.
Time for her to go down to Chris N at PJ Grady for some work on that leaking transmission.
Well, its been a while since my last post, but don't worry I've not been slacking off on the car. Much has been done and I'll be bringing the blog up to speed over the next few posts, but first that awful black gunk.
Well after MANY hours of cold, painful, messy, smelly and down right vile work the bottom of the car was cleaned completely of all the black gunk. Now, the guy selling the car to me in the US had assured me that this was a spray on black "rhino hide" coating which they use on the beds of their trucks over there. Great I thought, googling the name and finding that its tough, strong and most importantly water proof.
Well, what a load of rubbish. This was far from Rhino hide paint, but was in fact a bitumen spray on coating which was applied to quite a few DeLoreans when they arrived in the US back in the 80's. It tended to be applied to those cars destined for the east or northern parts of the USA. While it was designed to protect that mild steel and epoxy coated frame, and indeed it did, time often means that water finds its way in and, with the black coating covering it the resulting damage can be harder to see. Not to mention its a messy, horrible coating which gums up all the bolts, parts and fixings under the car.
Well, in order to fix any rust of flaking epoxy on 10719 I needed to get it off. So, armed with loads of rags, paper towel and white spirit I went to work. The best technique I found was to put the white spirit into a spray bottle and spray a mist over the area to be cleaned. I then attacked this with a kitchen sponge, removing layer after layer.
 |
One half cleaned off!
|
It was slow and painful work, but I slowly got back to the original epoxyy. I was doing this in January in the UK, with temperatures falling well below freezing. I had over eight layers on at one point, and was still freezing cold! Laying on a cold concrete floor doesn't help, especially when your working under a two tonne car. However, I did get another set of stands so I could get both ends of the car right up in the air and all four wheels off.
I managed to get it all off, and in turn revealed a few bits of flaky epoxy that needed work. The main part was where the leaking oil from the transmission had exposed the metal on the engine cradle. It seems to just be surface rust, so I'll clean it back and probably paint in POR-15 grey. Soon be a s good as new!